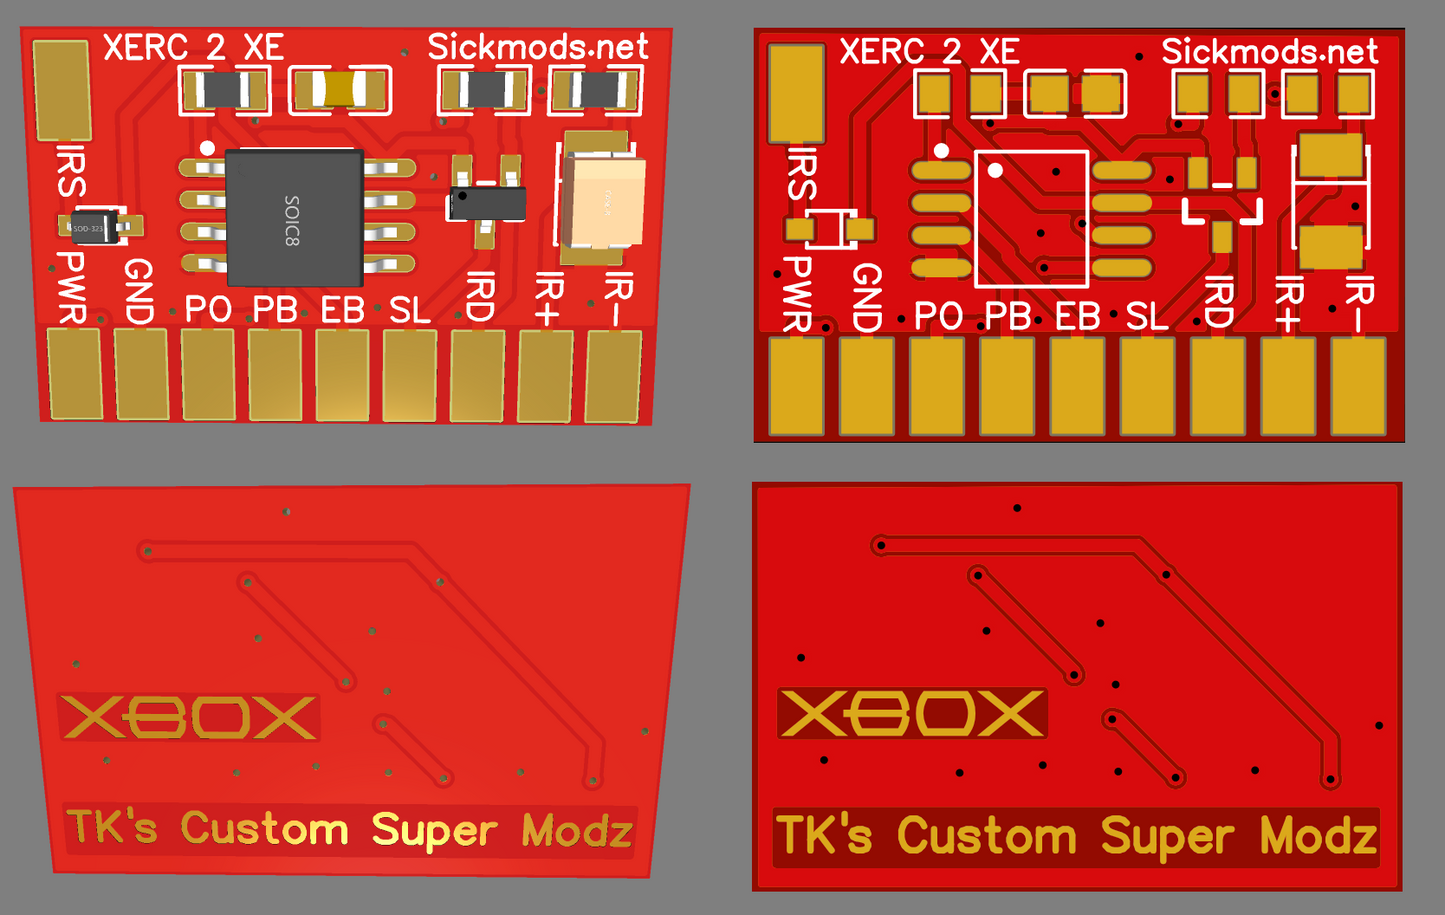
Xerc 2 XE
Xerc 2 XE
Couldn't load pickup availability
Features of the XERC 2 XE
- No mod chip needed (does NOT replace your mod chip)
- Supports short and long power button press (lets you "quick choose" bios with for example X3 and Aladdin/Jafar)
- Supports DVD-Eject press
- Supports SmartXX-OS press (simulates the sequence needed to be pressed to enter SmartXX-OS)
- Fully customizable buttons on the fly! (No PC or programming hardware required) That means that you can easily change which buttons on your remote perform which functions and disable the functions that you are not interested in, without opening your Xbox back up
- Supports RCA, SONY (SIRC 12/15/20-bit) and Philips (RC-5 and RC-6 (Mode0 and XBOX 360)) remotes
- Safe power off the Xbox; No risk for turning the Xbox off by accident (3 second button hold)
- Discrete power off (instant)
- Works with both 3.3V standby voltage (1.0-1.4 power supplies) and 5V standby voltage (1.6 power supplies)
- Built in "heartbeat" fader for the eject ring
- Fully customizable open source code
Install guide for the XERC 2 XE.
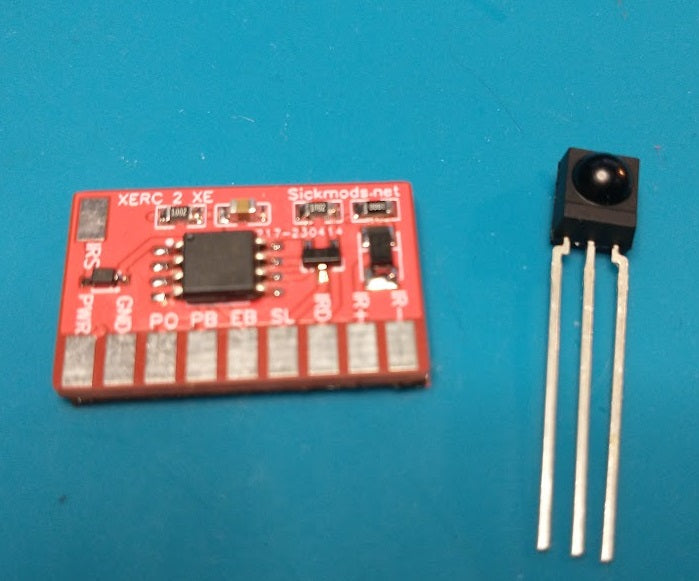
The XERC 2 XE is a simple device to install, even for beginners. It requires 6 wires to be soldered to the motherboard, plus 3 wires to connect the IR receiver.
Before beginning installation, be sure to read the User's Manual.
Click here to download the XERC 2 XE User's Manual.
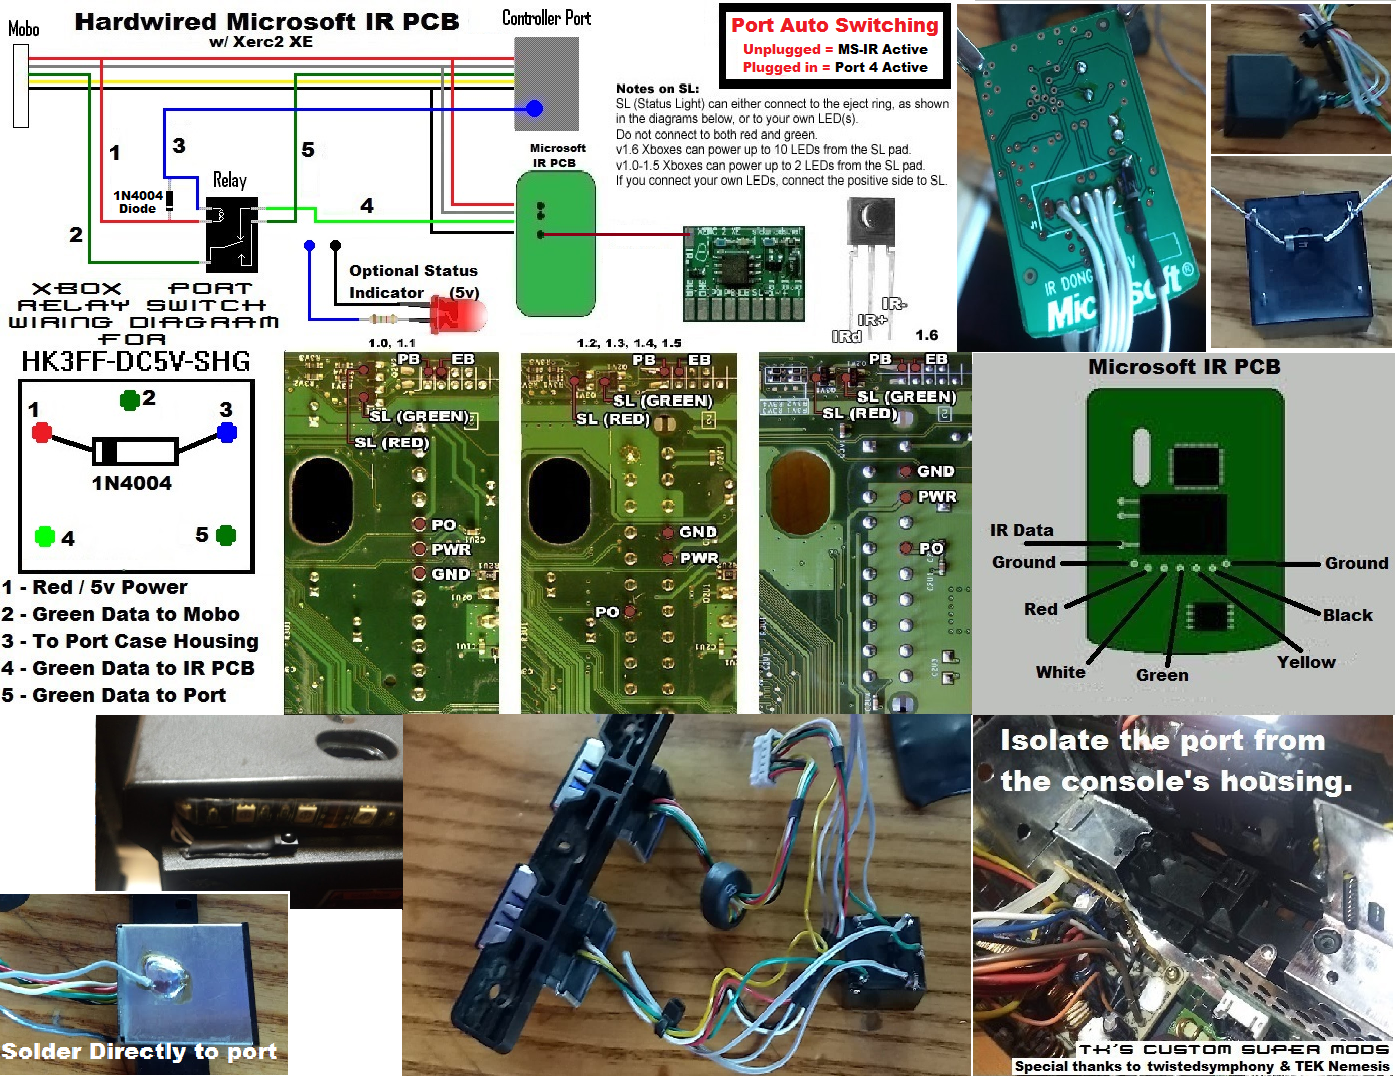
Connect to Motherboard
To begin installation, the preferred method is to use double-sided tape to secure the XERC 2 XE to the motherboard. Use the included tape to isolate the XERC 2 XE from the motherboard, and be sure to place it in a flat, open area. You can then attach the 6 wires to the motherboard. We recommend using a minimum wire gauge of 26awg for PO, PWR, and GND, and 30awg for the rest.
Click here for the diagram of the installation points.
Optional Status Light Connections
The recommended way to use the status light is to connect it to either the green or red eject ring LED's, as shown in the diagram. However, you can instead connect your own LED(s) to the SL pad of the XERC 2 XE.
v1.6 Xboxes can power up to 10 LED's, and the SL pad provides 5V power.
v1.0-1.4 Xboxes can power up to 2 LED's because of the limited PSU power, and the SL pad provides 3.3V power.
Be sure to use the correct resistor for your circuit.
Install the IR Receiver
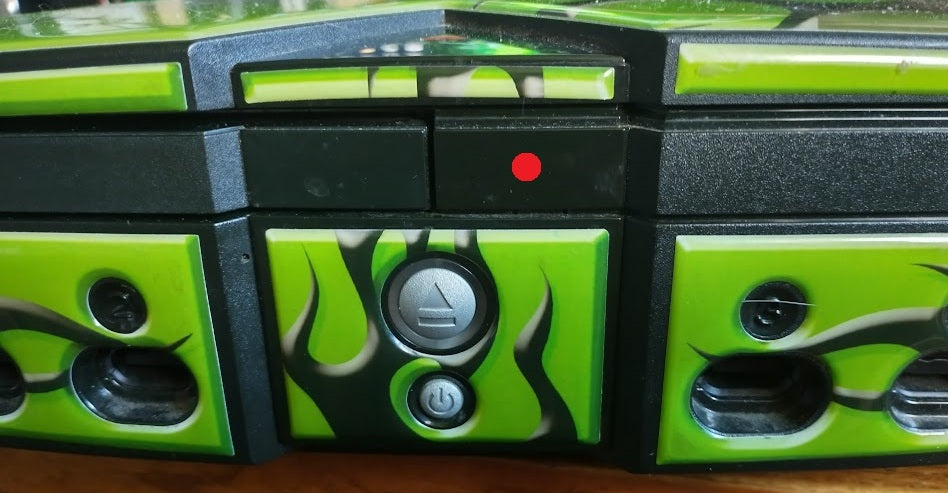
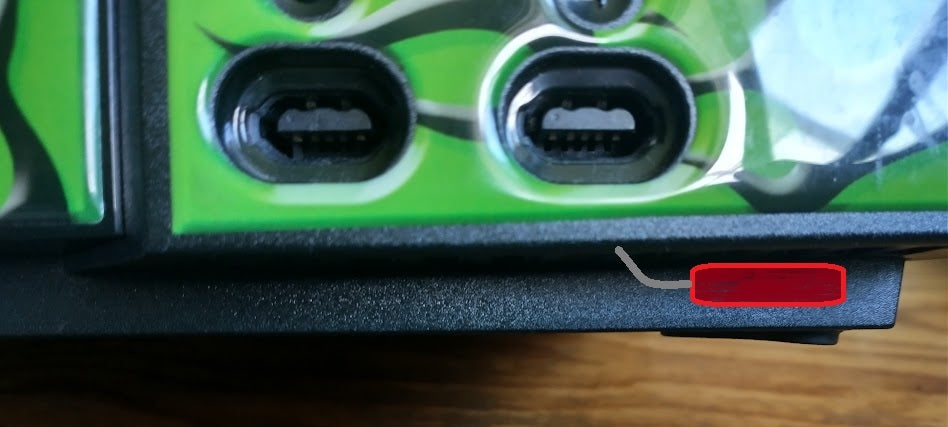
To install the IR receiver, you must run 3 wires from the receiver to the XERC 2 XE. Be sure to not mix up the order of these wires. The IR receiver must be in direct line of sight with your remote. If you have a clear case, it will work through the transparent plastic. You can also drill a hole and mount it behind the faceplate or simply mount it to the front, under the faceplate, as shown in the picture. Whatever method you choose will work but be very careful not to allow the metal pins of the receiver to touch each other or the metal Faraday cage surrounding the internal components of the console.
Optional IR Receiver Sharing
If you would like to mount your Microsoft DVD Dongle internally, you can do so and share just one IR receiver between both the Xerc2XE and the DVD Dongle PCB. You must use the receiver that came with your XERC 2 XE in order for this to work. You must also disconnect the existing receiver from the Microsoft DVD Dongle completely. Then just connect the data line on the DVD Dongle to IRs on the XERC 2 XE. The data line on the Microsoft DVD Dongle PCB is the one that is separated from the other two. Once the original receiver is removed from the Microsoft DVD Dongle PCB and you have connected the data line to IRs on the Xerc2XE, install the IR receiver on to the XERC2XE as normal and it will control both the XERC2XE and the Microsoft DVD Dongle. The Microsoft DVD Dongle must also be connected to the power, ground and data (-) wires of a controller port also. If you don't care to have that port switchable you can also hardwire Data (+) but there is a way to use a relay to make it switchable so you can maintain use of the port when a controller is plugged into it. See the advanced install diagram for this relay switching method.
Click here for the diagram of the ADVANCED installation points.
Configure the Remote
Once the 9 wires are connected, re-assemble your Xbox and plug it in. As soon as it gets power, you should see your status light blink twice, then begin to fade in and out. Next, follow the Manual to configure which buttons on the remote that you want to use and operate your Xerc2XE. If at any time you want to return to the default buttons, you can perform a factory reset as instructed in the Manual. To learn how to do this and for other operating instructions, please download the User's Manual.
This device is fully tested after being assembled for functionality using a custom adapter. After the IC is programmed, they do not contain any keypress memory in them. Default keypresses are configured with a factory reset or are entered manually the same way custom keypresses are entered. During my test, the initial FACTORY RESET is performed for you so all buttons are set to default upon your first powering up of your Xerc2XE.
All functionality is tested before the Xerc2XE is packaged and sealed. This means they are guaranteed to be working upon arrival. If it doesn't work for you, then it means you have done something wrong in the install. Because these are FULLY tested, there are no returns if the package is opened, No exceptions. The most common error in installation is miswiring the Ir receiver so pay close attention to that during install.
Click here to download the XERC 2 XE User's Manual.
Xerc 2 XE Configuration Quick Reference
1) Skip (For Config only)
2) Short Power (on/off)
3) Long Power (on/off)
4) Eject
5) Smartxx Menu Launch
6) Instant Off
7) Standby Lights
Off - Skip
On - Any other key
Note 1 - If you want one button that instantly turns the box on and off, set "Short Power" and "Instant Off" to the same key.
Note 2 - "Long Power" and "Smartxx Menu Launch" are for certain mod chips and should be skipped unless needed.
Configuration Video
Here is a general introduction and configuration walkthrough video to help you understand the manual.
This is a link to my FULL Xerc google drive.